Fixed-Mount Reader Sizing: Resolution, Depth and Field
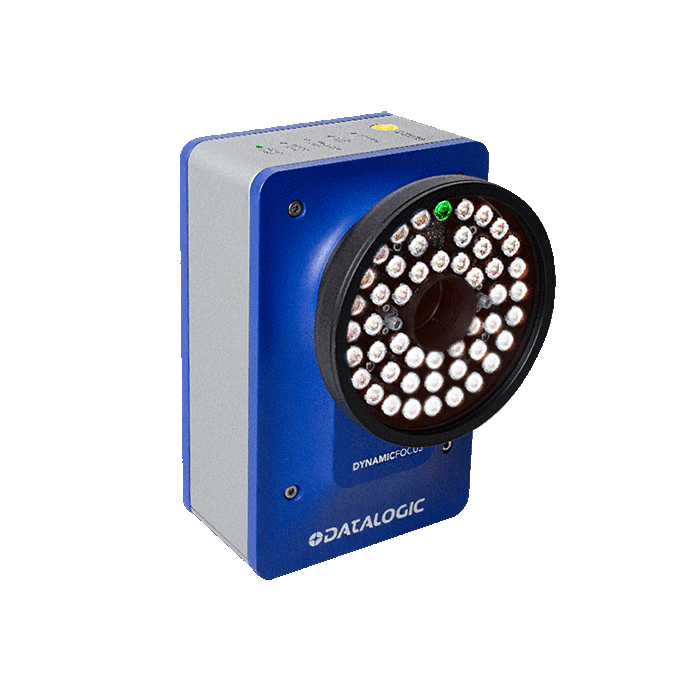
Sizing a fixed-mount reader comes down to three quantities: the smallest module, the field of view required, and the mounting distance available. Doing the arithmetic first is faster than guessing from datasheets.
1. Pixels needed
For reliable decoding the smallest module should span at least three pixels, and five where conditions are poor.
Millimetres per pixel = module size ÷ pixels per module. Sensor width in pixels x millimetres per pixel = covered field width.
2. A worked example
A Data Matrix on the label has 0.25 mm modules. At five pixels per module that is 0.05 mm per pixel. A 1280-pixel sensor then covers about 64 mm. If the cell has to span 120 mm, either move to a sensor above 2400 pixels, or shrink the field and constrain where the code can appear.
3. Working distance and lens
With the field fixed, working distance and focal length trade against each other: for a given sensor, field of view rises with working distance and falls with focal length. Longer distances need longer lenses and leave less depth of field. Stopping down gains depth but costs light and lengthens exposure, which matters on a fast line.
4. Mounting and lighting
- Keep the optical axis close to perpendicular to the label; a steep angle wastes working depth
- On laminated or metal surfaces, try polarised lighting to suppress highlights
- A rigid bracket beats a hand-adjusted one; line vibration moves the focus plane
- Leave room for focus and angle adjustment rather than locking the mount on the first try
5. Acceptance
Read production labels at least 500 times and log no-reads and misreads, then repeat with a different print batch. Passing on a sample roll tells you little about a production run.